 I loved how these turned out!!!! I have had this project going on for about 6 months!! Does anybody start one project and then get too excited to start another one that you just drop what you are working on and start something new?? Well...I do that all the time and it drives Michael nuts ;) Anyways....it is finally done and it really completes his room!!
Showing posts with label Home Decor. Show all posts
Showing posts with label Home Decor. Show all posts
Thursday, May 5, 2011
JAKE letters for his room!!
I loved how these turned out!!!! I have had this project going on for about 6 months!! Does anybody start one project and then get too excited to start another one that you just drop what you are working on and start something new?? Well...I do that all the time and it drives Michael nuts ;) Anyways....it is finally done and it really completes his room!!

Wednesday, March 2, 2011
Refinishing my lamp!!
 So I should have taken a picture of the lamp before I refinished it, but believe me, it was nothing pretty! The base of the lamp was an ugly silver color so I spray painted it with a bronze color and I love it!! I had this Amy Butler fabric (I love her stuff) left over from when I made Jake's crib skirt and thought it would pull his room together if I used it on the lamp too. The room looks great, I am really happy with the turn out!!
Thursday, February 24, 2011
A few more crafts!!
 I fell in love with these when I saw these at a little boutique but again, so expensive!!

 Our little family home evening sign!! There are cuter ones out there but it was really cheap!! And I have another REALLY cute idea that I am going to make soon!!
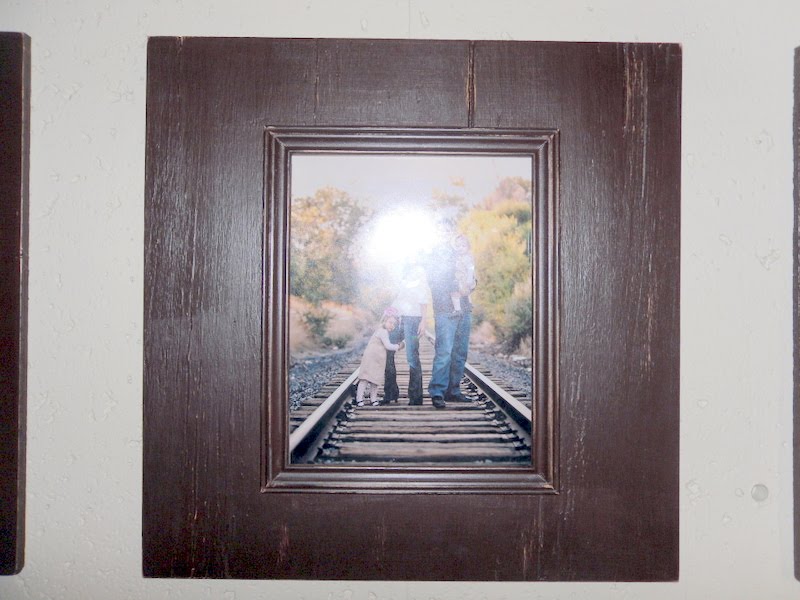

So, these frames are so stinkin cute!! Camie, my wonderful friend down in Gallup, NM helped me make these!! I also saw some in a boutique in Cedar City that looked just like these and they were asking $120, crazyness, cause it only cost about $12 to make!! Camie you should sell them!!


This a magnet board I made, it turned out pretty cute!!
My headboard!!!

So, we had been married for almost 5 years and our bed was still sitting on the floor. So, when Michael left out of town for a school project I decided to surprise him with a new bedroom..hehe!! For starters, I went and bought a bed frame so our bed was at least off the floor. Then I decided that we needed new bedding, so I went to Bed Bath & Beyond and found these really soft 1000 thread ct. sheets on sale for... get this.....$25, yeah!!! I got my duvet cover from the wonderful Ikea, I love that store!! (I am going to add some throw pillows soon for a nice little touch). So, after that was finished I realized I needed a headboard, but didn't want to pay big bucks for one, so after a lot of researching I finally made one!! And you will not believe how much it cost....$50, yeah I was shocked too!! You could spend more if you choose different fabric or if your fabric wasn't on sale but I got an amazing sale price on this fabric, so I was really lucky!! Anyways, it was my first super big project so I was quite happy with it :) This is how I did it....
Supplies you will need:
1. Plywood, I cut mine to 48in. x 70in. (Cal King) Home Depot can cut it to the size you need .
2. Batting for a king size quilt, extra loft. (I bought 2 pks. cause I wanted extra padding but you could totally do it with 1. I also got mine from wal-mart, the ones from the craft store were expensive).
3. Fabric, make sure it is 55in width or larger. I used 2 1/2 yards of fabric and I have a Cal King.
4. Decorative Upholstery Nails. Don't buy the ones from Lowes or Home Depot, get the ones from either Joanns or Hobby Lobby, better quality and same price.
5. Rubber mallet
6. Staple Gun and Staples
7. Fabric marker or fabric chalk
You are going to laugh at how simple this is...
1. Cut your batting to the size of your board but allow about an extra 4 or 5 inches all the way around. Wrap your batting around and to keep it in place use your staple gun and staple it to the board. Repeat if you are using 2 pks of batting.
2. Cut your fabric to the size you need also allowing enough room to wrap it around your board. Same goes for the Fabric, when you get it to the place you want, wrap around and staple it to hold in place.
At this point you should see it coming together!!
3. Now you need to measure 3 inches in, all the way around the top and both sides. You leave the bottom plain. I find that if you mark the corners first that works best. Once you have measured now get a yard stick (you can use a ruler or whatever you have around the house, I just find that a yard stick works best) and draw a line with your fabric marker or chalk and connect the dots at the corners.
4. Once you have your lines drawn, then start from one side and use your rubber mallet and nail in the nails to the distance you desire. And voila...you have a super cute headboard for super cheap!!!
*** To attach the headboard to the wall...go to home depot and choose how you want to attach it, they have different options but I used a mirror hanger. It was $15 at home depot but it is the way to go if you ask me!!
Subscribe to:
Posts (Atom)


